Basic Project
Get Started
Install
To create a SuperApp project you need django_superapp installed. You can do this
using pipx:
pipx install django_superapp --forceGenerate the Project
Next, create a new SuperApp project using the bootstrap-project command
django_superapp bootstrap-project \
--template-repo https://github.com/django-superapp/django-superapp-default-project \
./my_superapp;
cd my_superapp;
With the above command, a new project will be created using default template in the my_superapp directory.
Add Admin Portal App
Next, add the admin_portal app to the project using the bootstrap-app command
cd superapp/apps;
django_superapp bootstrap-app \
--template-repo https://github.com/django-superapp/django-superapp-admin-portal ./admin_portal;
cd ../../;
Add Authentication App
Next, add the authentication app to the project using the bootstrap-app command
cd superapp/apps;
django_superapp bootstrap-app \
--template-repo https://github.com/django-superapp/django-superapp-authentication ./authentication;
cd ../../;
Start the server
To get started, first make sure you have Docker (opens in a new tab) and docker-compose (opens in a new tab) installed on your system.
Finally, you can start the development server using the following command:
make setup-sample-env
make start-docker
Setup env variables
To setup env variables, run the following command:
export $(cat .env.local | xargs)Apply migrations
To apply migrations, run the following command:
docker-compose exec web python3 manage.py migrate;Create a superuser
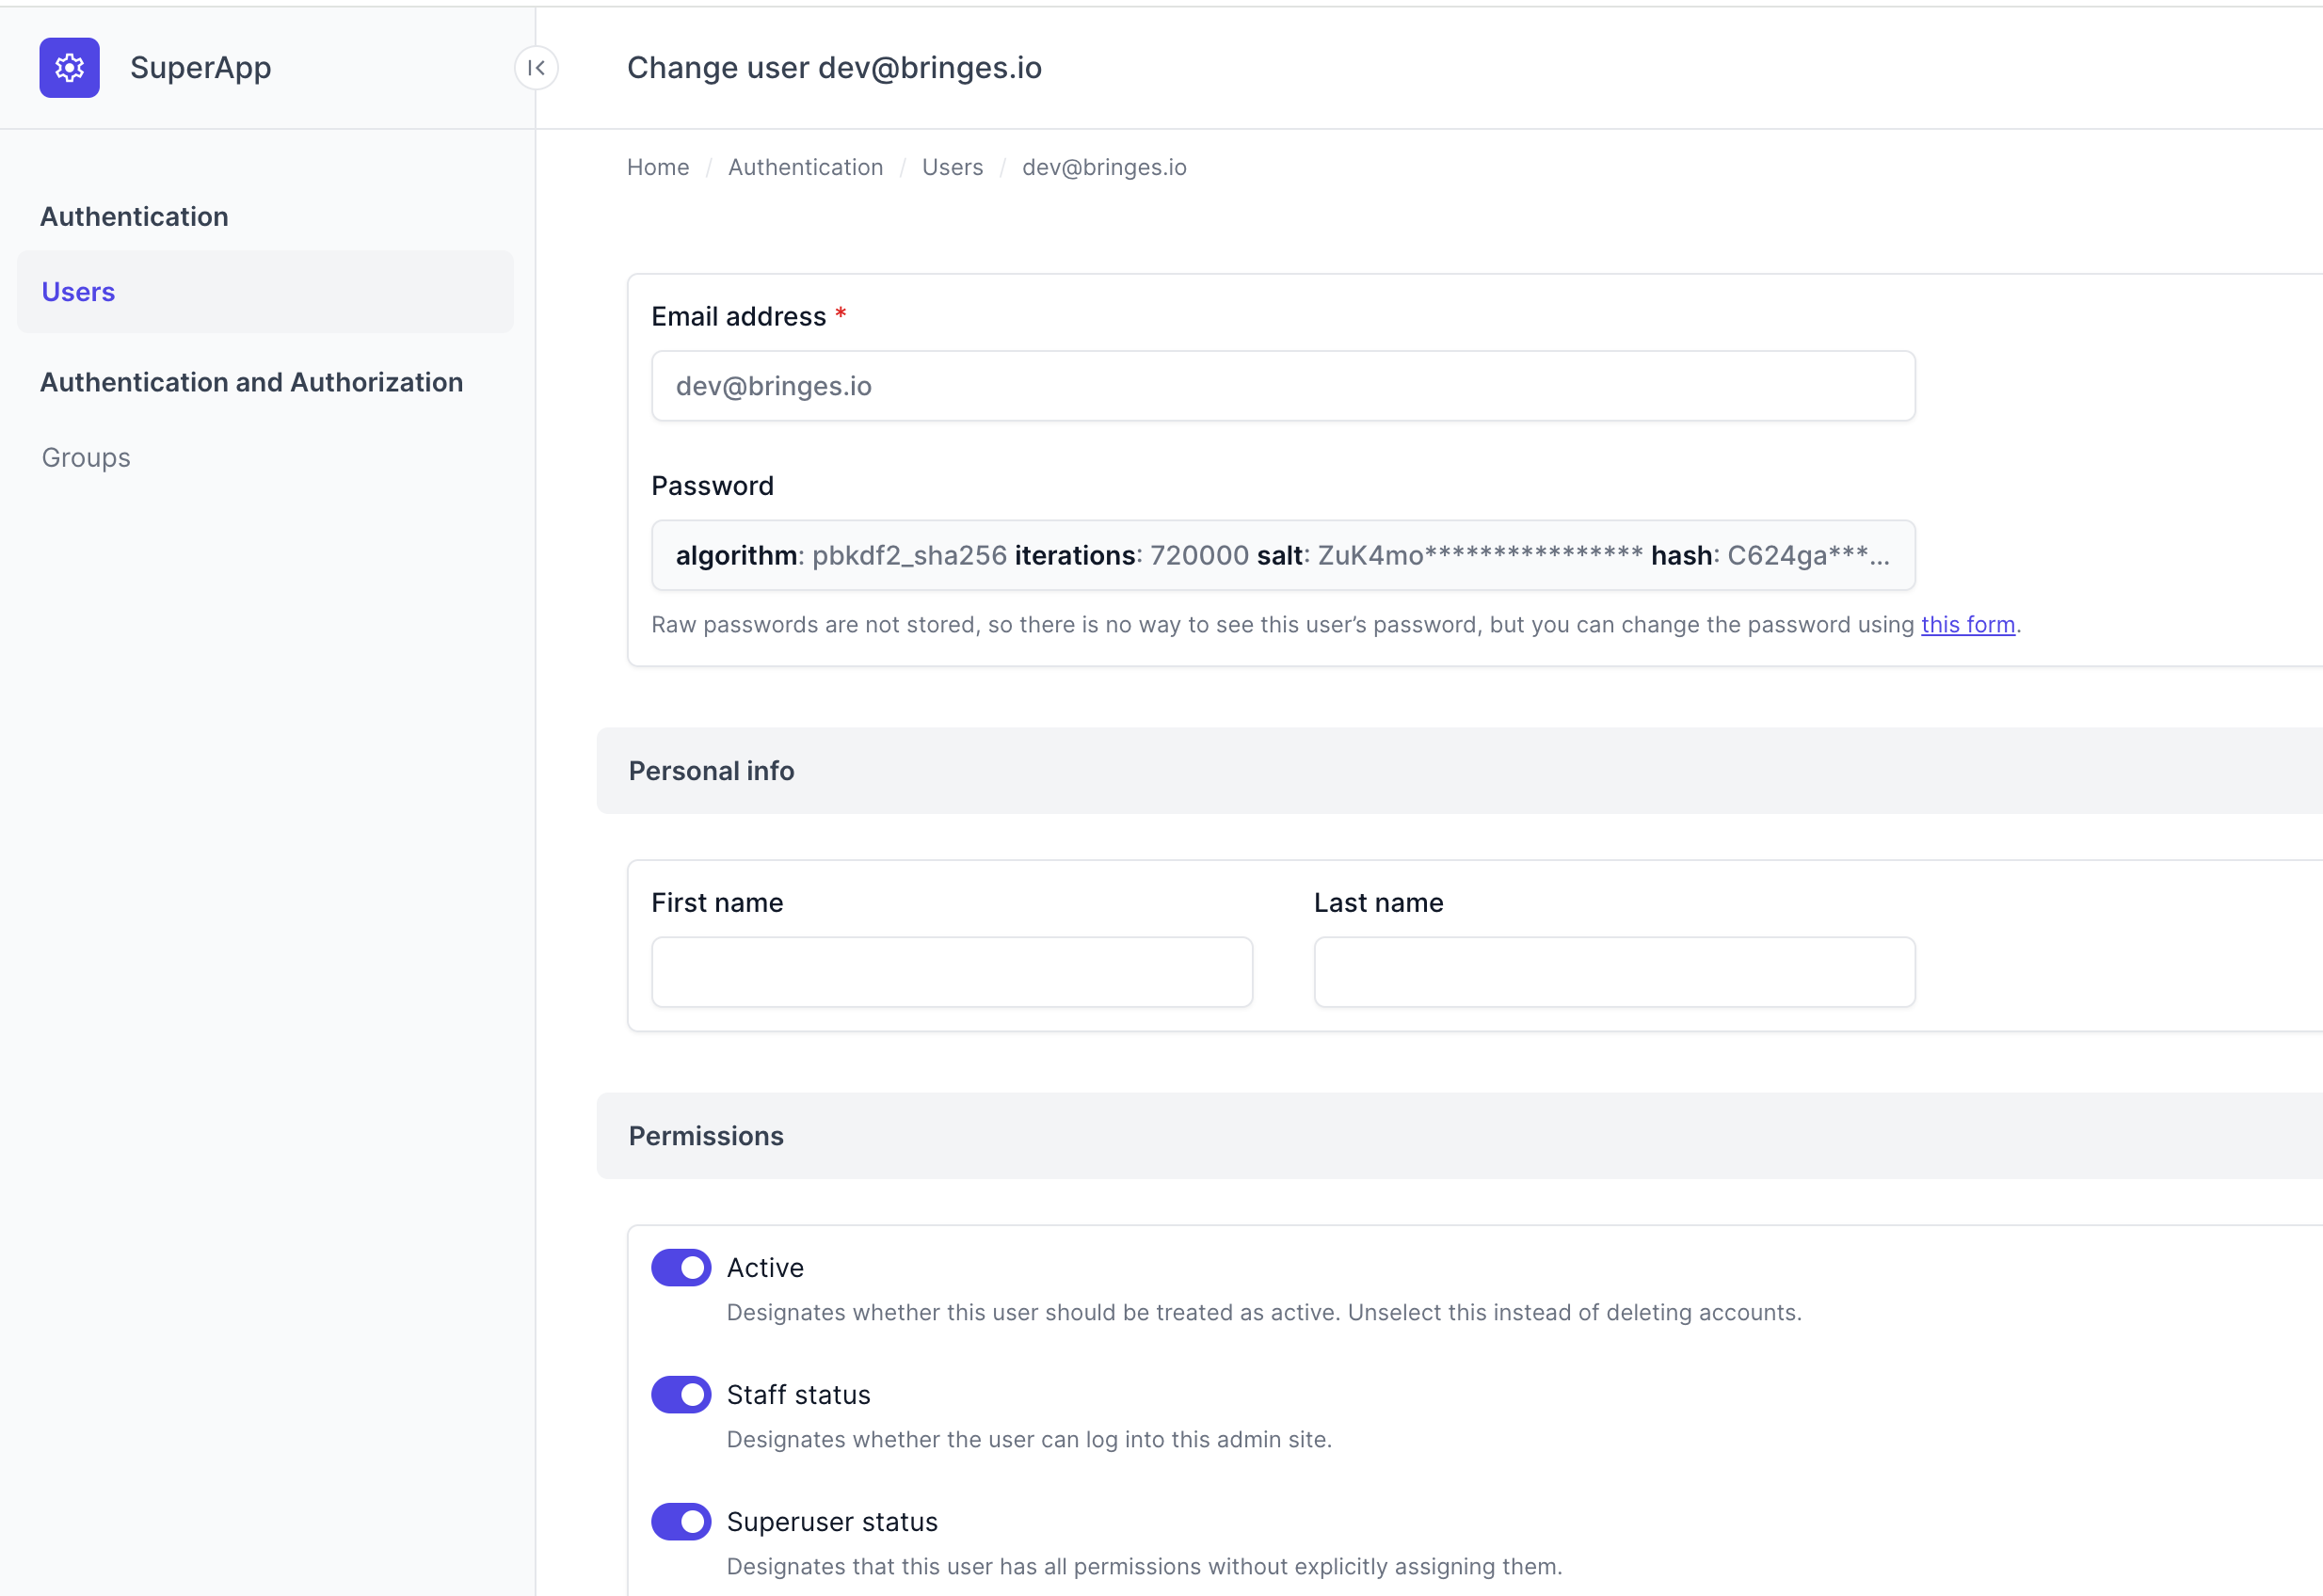
To create a superuser, run the following command:
docker-compose exec web python3 manage.py createsuperuserOpen the web interface
Finally, you can access the project at http://localhost:8080 (opens in a new tab).