SuperApp
Superapp boosts developer efficiency by allowing them to start projects quickly with pre-built standalone apps. Each app has its own settings.py and urls.py files, which are automatically recognized by the system. This modular setup makes Django projects more organized and scalable, saving developers time and effort.

Get Started
Install
To create a SuperApp project you need django_superapp installed. You can do this
using pipx:
pipx install django_superapp --forceGenerate the Project
Next, create a new SuperApp project using the bootstrap-project command
django_superapp bootstrap-project \
    --template-repo https://github.com/django-superapp/django-superapp-default-project \
    ./my_superapp;
cd my_superapp;
With the above command, a new project will be created using default template in the my_superapp directory.
Add Admin Portal App
Next, add the admin_portal app to the project using the bootstrap-app command
cd superapp/apps;
django_superapp bootstrap-app \
    --template-repo https://github.com/django-superapp/django-superapp-admin-portal ./admin_portal;
cd ../../;
Add Authentication App
Next, add the authentication app to the project using the bootstrap-app command
cd superapp/apps;
django_superapp bootstrap-app \
    --template-repo https://github.com/django-superapp/django-superapp-authentication ./authentication;
cd ../../;
Start the server
To get started, first make sure you have Docker (opens in a new tab) and docker-compose (opens in a new tab) installed on your system.
Finally, you can start the development server using the following command:
make setup-sample-env
make start-docker
Setup env variables
To setup env variables, run the following command:
export $(cat .env.local | xargs)Apply migrations
To apply migrations, run the following command:
docker-compose exec web python3 manage.py migrate;Create a superuser
To create a superuser, run the following command:
docker-compose exec web python3 manage.py createsuperuserOpen the web interface
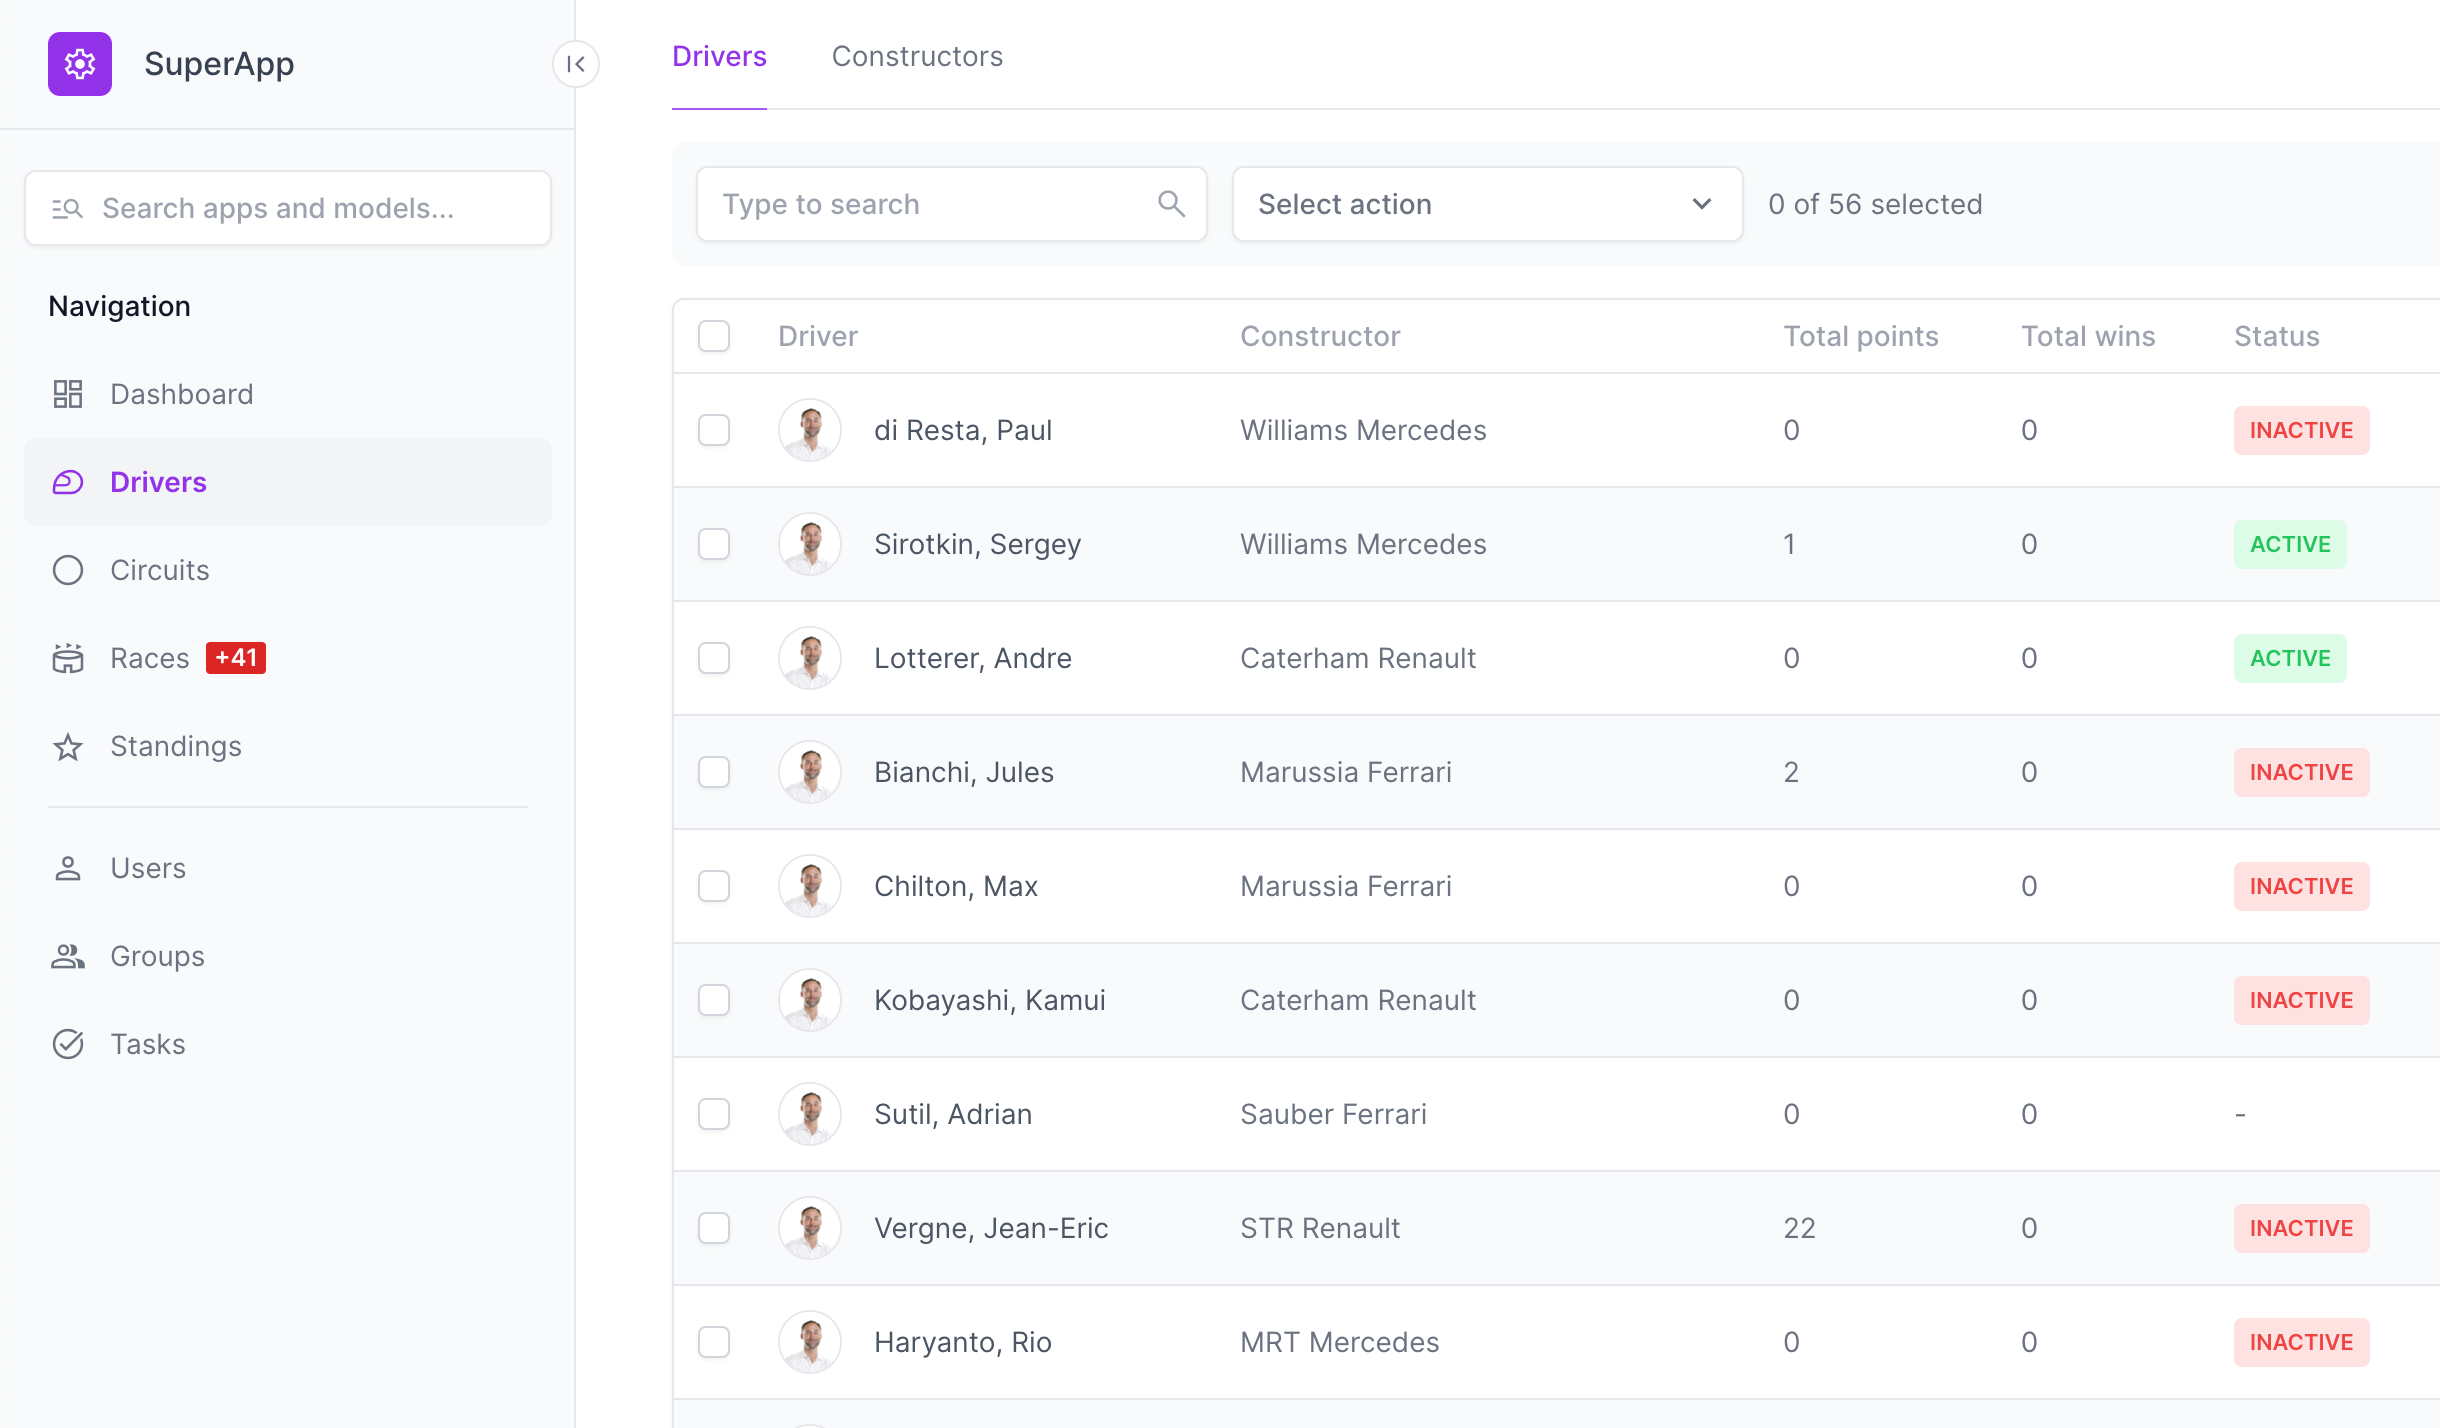
Finally, you can access the project at http://localhost:8080 (opens in a new tab).